Wednesday, 3 July 2013

Work on Wednesday 3rd july

Hi Everyone,
Have had a week at work, so when Esther's Love Entwined was released last Friday, I had 3 days to think and plan.
Oh dear, not enough of my background fabric that I love, and bought without knowing the requirements, a silly thing to do but I love it and always had a plan B which is,
Make a smaller quilt OR buy the same fabric in deeper shade for the outer borders.


I love this, it has a pink tinge plus an almost green tinge depending on the light. From Ginny Beyer's Essential Neutrals range, but it really shows as a cream/beige fabric.

Monday I started my compass and finished the inner yesterday  morning, Thanks to Glenda I dropped one colour from the outer piecing., and am very happy with it.

Wish there were not so many R's in what I am typing as the R button fell off yesterday and it is a precision touch to get it to work, Lol


My center is fussy cut from my inspiration fabric. I will show this at the end of this post, it is going to drive my fabric choices and there will be a lot of fussy cutting from this fabric.
So far it is all from my stash except the background.
Pink and Blue points are Fairy Frosts and I will be using a lot of these. The other compass points are synthetics.
Took these photo's as I made the last quarter's, thinking they may help some that are new to paper piecing
or foundation piecing as I know it.


It may be easier not to cut your fabric to the exact measurements, but to cut rectangles instead. For me it is 
easier but it does waste a little fabric.
These were my measurements. for all the outer triangles I cut fabric at 2 1/2" x 1 1/2"
For the 8 outer pink  points 3" x 1 1/2", for the 4 secondary Aqua points 4" x 2"
The center star I cut to the template.
You can cut them larger if you wish but this gives good coverage of the pattern area.


My Pink fabric is completely covering the point and the second fabric is lined up by holding to the light and allowing a 1/4" seam.


After stitching and pressing I fold the paper foundation back and trim the pink fabric back to 1/4"
From the pattern line. I know the longer lines on this ruler are quarter inch and I find it easy to work with for trimming.


Trim the second fabric the same way and line up and stitch the next,


All fabrics added, just need to trim to the foundation edge, bottom of my pink is already trimmed
.
Had to help with stock take at work yesterday afternoon but had time for a couple of false starts with the outer ring as wanted a gold fabric but nothing worked, just before leaving I found the answer and also the solution for my little circles which also hadn't been coming together for me.


An Icy Blue Fairy Frost,. it is raw edge machine appliqued with tiny blanket stitch, the outer edge still has to be trimmed to size. I used fusible web to hold it in place.


My pink shot Gold fabric shows better in this photo, the truest colors I think.

Knowing the compass edge was going to be under my outer circle  made me to rethink my options for the little circles using machine applique.
My bead box gave me these, Paua, or Abalone shell circles from a necklace I bought for the other beads.
Only one hole but if you look at the top right quarter, I am using  tiny pale blue beads to secure them in place. Shell side up for the 4 points and polished side up for all the others.
Can't attach them till my compass is in place as will not be able to machine stitch the outer edge if I do.


I have now attached a layer of iron on Viselene or Pellon padding to the back of my compass,  restitched around my center circle with metallic gold triple stitch for more definition, and 1 row of metallic gold around the inner edge of the outer circle to make sure the pellon will not move. As you can see the pellon is cut 1/4 inch inside my outer trimming line. The above photo's have the pellon already in place.


And my inspiration fabric.


Fell in love with it a few weeks ago, and just had to buy a couple of meters, not intending it for LE. 
You can see on the lower right the medallion I fussy cut for my compass center. 
Not sure where this is now taking me but I am going to enjoy the journey.
That's it for this week, Cheer's Jenny

Wednesday, 12 June 2013

Work on Wednesday 12th June

What have I been doing this week? Not a lot!!!!
Have had 3 days off and should have been busy quilting my retro FMN but have been so intrigued by Esther's new BOM for her group that I have spent most of my time on the computer researching the era, fabric's and of course the possible whereabouts of the quilt.-- what a WOW if I could find it.
Didn't know I was interested in genealogy  but this exercise was so fascinating I couldn't leave researching the Erith family alone.

Okay, I haven't found the quilt but I think Esther may get some news shortly.

For me I am now thinking fabrics ( and of course not quilting)
I love my brights, but I am thinking more Vibrant than in your face bright.
The dress Esther showed on her Blog sent me to my scrap drawer.


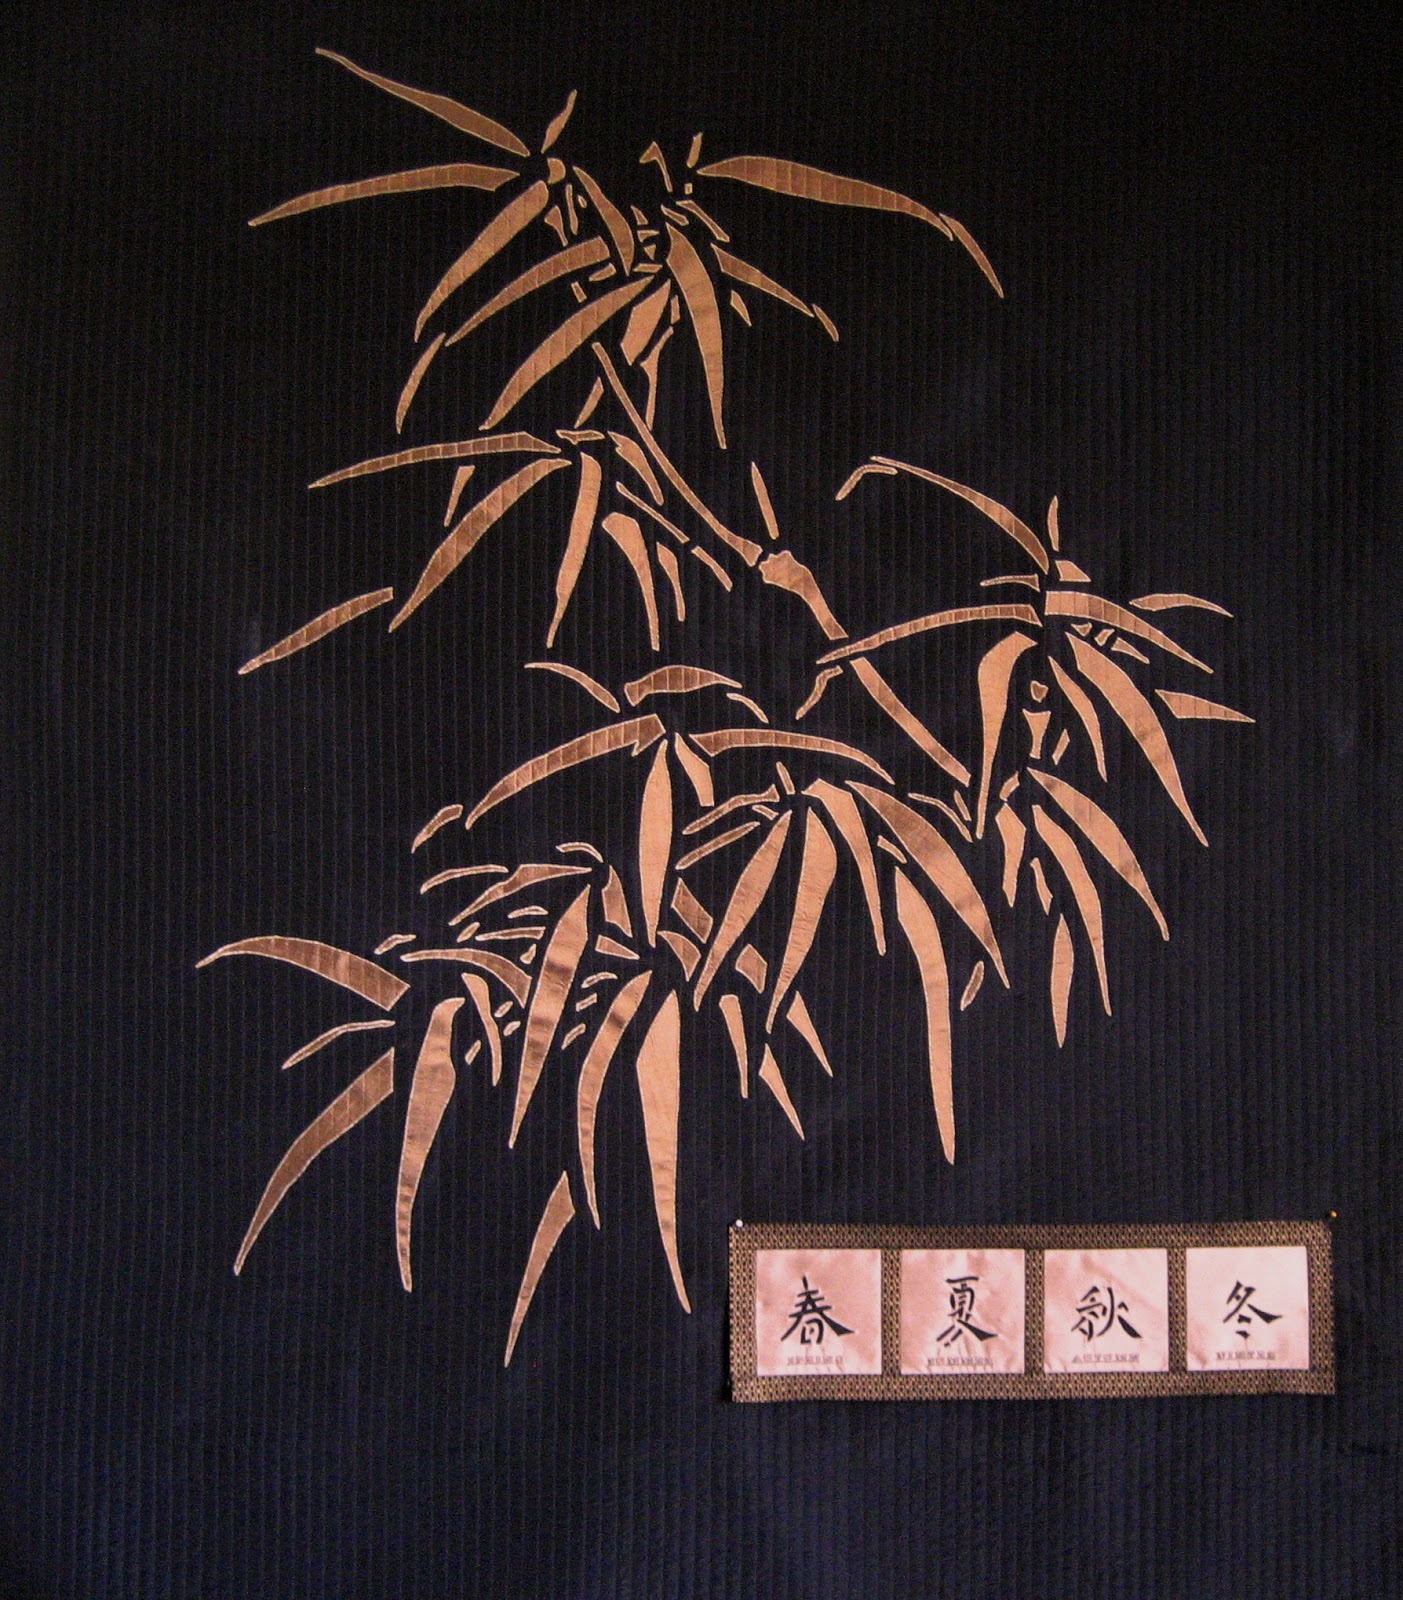
The antique gold silk skirt I cut up to make my bamboo wall hanging, this is what I left of the fabric.
certainly not the mustard gold of the dress


Still not quilted  but the fabric looks like gilt and maybe it will work for some applique details.

The quilting group I belong to know I work with many different fabrics and last week they gave me this curtain sample which had been given to them along with other Furnishing Fabric's. 
A  polyester/ nylon mix, it is one of several samples I received.


I am in love with it and it maybe my colour pallete for Love Entwined. Not these particular fabrics as taken apart I will only have an 8" square of each one, but once again highlights!!
I saw a range in town other day that has most of these colours in little prints so think I will go back and have another look, and the other fabric range I am thinking of is Fairy Frost which is in almost every shade.

Background, the hardest part, do I want neutral or colour.
Next week is my groups AGM in Dargaville  and there is a wonderful online shop that is based there.


On their website I found these fabrics.


This reminds of swatch three and four on my sample


This swatch two, I will look at them both next week but this is where my mind is going.
Cheers everyone, enjoy your week whatever you are doing.
Jenny

Thursday, 6 June 2013

Work on Wed 5th June

Firstly a huge thankyou to everyone who voted for my Forget Me Not at the quilting gallery the other week.
Some wonderful wonderful quilts and I was very happy how many people liked my version of Esther's design.
A very busy couple of weeks work wise so quilting has been in the background but some progress has been made.
Here is where what I have been doing.


Slowly, or it should be very slowly, hand stitching my binding on my Blue FMN. An hour or so at a time is all I can manage to hold  a needle for. The doctor say's I have arthritis in both thumbs, not sure if I believe him as have no symptoms anywhere else but all he wants to offer are pain killers which I only take if I really have to.
I was a hairdresser for 20 years so maybe winding all those perm rods did help wear out my thumb joints!!
Am pleased I had enough of my frame fabric for the binding as I think it is the perfect choice for the binding.
I  purchased this fabric on Ebay from Canada, only place I could find it, it is the same as Esther's block background fabric so very pleased I had enough

Steve came home the other week with a surprise.for me, a new Planetary Mixer. My old mixer which I had had for 30 plus years and took to Rarotonga with us, died on it's first use back in NZ, salt air is not good for appliances, especially after weeks in a container.


It's a display model that was being cleared at a very good price, not sure if I really needed it as have not missed having one, it is going to sit on the bench, so - it needed a cover.

My prize from the Quilting Gallery for Mum's Peaceful Pathways lap quilt was 2 charm packs of Riley Blake Fabric's. I received them from the Fat Quarter Shop within 10 days, brilliant mail service!!
Bake Sale and Madhuri, no photo as Steve unpacked them before I had a chance to take a photo.
He pulled some out and said perfect for the mixer cover!!
I'm thinking, okay, that's 3 squares, what are you thinking I am going to make with those?
He went to my sewing room and went through my synthetic fabric bin, a lot he had bought, just because he likes them and thinks they might be useful one day.
Have I said that Steve can sew, he started out as a saddler and then spent time as a car upholsterer before going into building,  he draws his own patterns for tops and works mainly with his overlocker..


This is the fabric he found, bought for a Human / Zebra wall hanging that I have never made, and now don't have the fabric for. Our kitchen is white tiles and black cupboards, with a metallic squares on a marbled grey/white wallpaper with stainless appliances so it was the perfect choice. I had forgotten all about it.
I stabilized the synthetic fabric onto iron on pellon batting, too light weight for what I wanted but my local quilt shop was closed for our Queen's birthday Holiday weekend and Spotlight only carried the lighter weight - and I couldn't wait!!!!
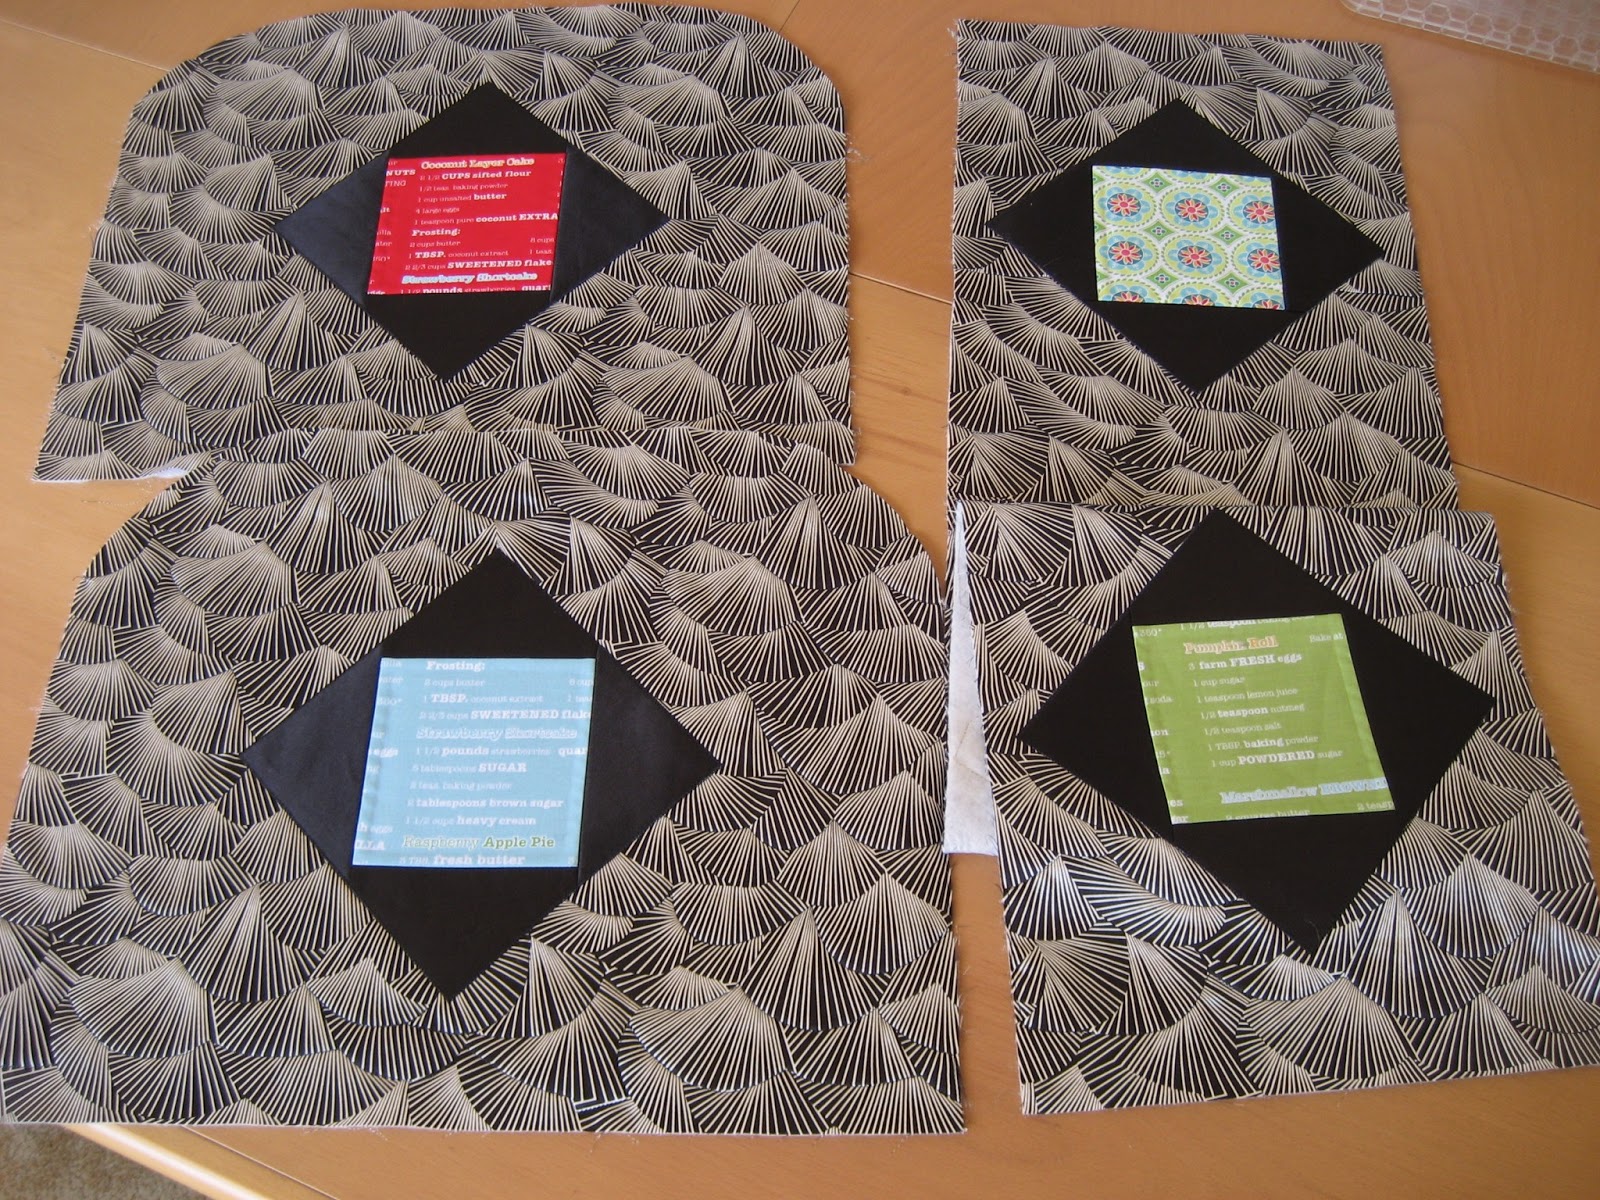
Recipe Charm squares for 3 sides and an additional patch for the back - to hide where I had too hot an iron and had to add extra fabric, the problem with synthetics- they burn,   Lol


Before joining the pieces together I quilted the top by following the curved lines at intervals, too much work to sew  every segment but I think it works.


Lost my side points  when I had to recut the center panel, had made it too wide and it looked awful first time round, now tapered and fits over the bowl much better.


Enough background fabric and more charm squares to make a cover for our coffee machine.
these charm squares are not the style that I normally work with but Hey a new adventure.

Have also been slowly working away at the in the ditch quilting of my retro FMN


Am very pleased with how it is coming together.


Now have the top eight blocks ditch stitched and like the first quilt they have popped beautifully.
Have had a little unpicking to make the frames and sashings stay square, the shirt fabric I used for my frames does have a mind of it's own, but it does add a wow  to the quilt, not sure about my next stitching though.

Have until the 20th July to finish both quilts and add hanging sleeves as when I showed them to my quilting group last week they want both to exhibit at our biannual exhibition  in July, saying just finish the ditch stitching and bind it if you run out of time to finish the quilting..
They also want my Pomegranate and Cherry Thieves so I think I will be giving Esther a mini exhibition.
Will be sending her an email shortly for permission..

Ran out of time to finish and link this yesterday, so glad Esther gives us extra time to link up.
Cheers Everyone Jenny


.

Wednesday, 22 May 2013

Flower Gardens Show and Tell

Hi Everyone, and a special welcome to those who have found my Blog through the Quilting Gallery website.
I have spelt my blog address correctly this week after leaving out the l in blog last week LOL.
Thanks  Karen for letting me know, and thanks everyone who voted for Mum's special quilt Peaceful Pathways. Mum is so thrilled it won but says she always knew it would!!!

Thanks for wanting to view closeups of my entry this week.

Forget Me Not is a now finished 12 month BOM for Esther Aliu's  group.
http://groups.yahoo.com/group/estheraliubom/

Two blocks were released each month and we had the choice of which one to make.
I, like a couple of others made all 24 blocks so we have 2 beautiful wall hangings.
This one is my peaceful version, the block backgrounds are a semi sheer curtain fabric which I stabilised with iron on interfacing to keep the stripes straight and the trims are satin also stabilised with interfacing.
the "wallpaper" background is a fabric of my late Aunt's circa 70's / 80's


I am a beginner at FMQ and this has been my first attempt at a quilt this size so I kept it as simple as I could.
Here are closeups of my blocks. I have not done any quilting within the blocks themselves at this stage as my flowers were all padded before being machine appliqued and the blocks have "popped" beautifully from the frames and may not need anything extra.


Iris


Magnolia


Peony


Bleeding Hearts and Daisies


Fuchsia


Forget Me Not


Cosmos


Pansies and Violets


Carnation


Snowdrop


Morning Glory


Wild Rose and Lilac


Have just added my binding, same fabric as frames, still to be hand stitched.

This quilt has been a joy to make and I would so love your vote

For those who might be wondering about my second set of blocks, I wanted a quite different feel and went for a retro 70's  in your face quilt. Again my late Aunt's background fabric was my inspiration.


I am about to start the quilting on this one.
These 12  flowers are  Calla Lily, Hibiscus, Banksia, Columbine, Scotch Thistle, Tulip, Sunflower, Poppy,
Sweet Pea, Jacob's Ladder, Crown of Thorns and Daffodil.

The patterns for these blocks are available for purchase at http://www.estheraliu.com/shop.php
Block sets are available at the moment, but in a few weeks you will be able to purchase the entire pattern set.

Cheer's Everyone, enjoy your day whatever you might be doing and please remember to vote.
Jenny

Tuesday, 7 May 2013

Tuesday 7th May

Hi Everyone,
This is Work on Tuesday as it is raining today and Wed is  meant to be fine and I need to get outside for garden cleanup before winter really sets in.

I have just finished stitching my frames on Forget Me Not.
I smiled a lot to myself while I was manipulating the fabric around my machine. How careful I was handling these blocks when I made them - and here I was hold, pull, push without  any regard for the blocks themselves. They survived it all LOL


It was only when I had to find somewhere to hang it to take a photo,  the true size of this "wall hanging" became real to me. And I have 2 of them!!!!


I like the effect of my stitching on the frames but what to do next I am not sure.
My Bernina has a computerized stitch regulator foot for free motion, I have used it before but not on anything this size. Will have a playf or a while and see if  I become confident enough to make a start as Esther's new BOM's are starting soon and I don't want this to become a UFO, plus there is the second top as well.

To other things in my quilting week.
My Oriental Expressions came mid field in the Quilting Gallery show and tell and I am  happy as there were some wonderful quilts on show last week.

This week I would love to do better though
Not for me, but for my Mum.
This weeks theme at quilting gallery.com is Quilts for Mom and my Mum so loves her Peaceful Pathways Lap Quilt that I made from Esther's quilt pattern of the same name.

I am filling the rest of my Blog this week with closeups of what my Mum thinks is the most beautiful quilt I have ever made. Happy Mother's Day Mum - I Love You!!!


This is the Center Portion of Esther Aliu's Beautiful Peaceful Pathways Design for her BOM group.
My Mum is 93 and moved to a rest home when she lost her mobility 2 years ago.
As I live in Whangarei and she is in Christchurch I really wanted to send her a little bit of me to be with her.  She has 4 sons but I am her only daughter and though we talk every day I only see her about once a year.
The name of Esther's design called out to me and said just add her favorite flowers and it will be just for her.
Mum was always a keen gardener and embroiderer and this is a peaceful walk through her garden.


In this block the Iris and the Butterfly are from Mum's Embroidery pattern's


In this block it is the Waterlily and the Bridge and Willow Tree.


In this block Mum's pattern's gave me the Peony and the Bird with Cherry Blossom.


And in this block Esther's Waltzing Pink came to life.

All I can add is Thank You Esther for giving me a wonderful background for a quilt my Mum Loves.

Please visit quiltinggallery.com and vote for me and Mum's Peaceful Pathway's
The link is on my sidebar.

Cheers Everyone

Wednesday, 1 May 2013

Work on Wed 1st May

Have had 4 days off so have been making slow but steady progress quilting my FMN.
Ditch stitched all the blocks including the block trim. Decided just to echo stitch around the frames to give mitered corners similar to a wooden picture frame.


With 2 blocks done I was happy but there had been some unpicking as I came to terms with maneuvering the bulk of fabric around, this has got less with practice thank goodness.
I measured my frame width before I started and after stitching a sample discovered that by offsetting my needle as far as possible, my walking foot gave me an almost perfect guide for 5 rows of stitching


I marked my mitered corner with chalk and started at the outside. For 1st 3 rows the outer edge of my walking foot guides me. The last two rows I use the inner edge as I know that is straight and an uneveness shows more against a straight edge. My DH has always said the eye can only take in so much at one time.
Now with 8 Blocks stitched I am  thrilled with how the Blocks themselves are popping out of the fabric.


The middle 2 that I was so worried  about  were the easiest of the lot, the even spread of fabric around me  was a pleasure to work with LOL
Don't think I will be edge stitching all my applique but will just look at each block and see where some stitching will enhance the overall lift.

Many thanks to everyone that voted for my Lilies Wall hanging, I came 3rd  in the viewers choice and I was so thrilled with there being 67 wonderful entries.
It is like being able to visit a gallery of quilts based on a theme so once again I am putting up an entry this week - The theme is applique and possibly the only theme this year that will allow me to show my Oriental Expressions, so here is a detailed preview for those who are new visiting my blog,
Apologies to those who may have seen this before.


Held up by 3 girls from my quilting group it is 77 x 78 inches and once our bedroom is redecorated it will take pride of place on our bed - but not to sleep under LOL
This is probably the most difficult quilt I have attempted. Although the applique is relatively simple there were so many different elements, foundation piecing the great wall around the center, 33 different fabrics all charm squares from Trademe, and working out how to do my calligraphy blocks - not part of the original pattern by Yvonne Morris  over 3 issues of APQ magazine. I tried reverse applique but my gold satin fabric shredded at the edges so I went back to traditional raw edge applique.
The blocks read clockwise from top left Happiness, Peace, Dream, Love, what more can anyone want!!!
The block backgrounds are all fairy frost fabric's, the burgundy borders are Satin and also Burgundy Satin with a black/gold mesh overlay for the sashes.


The fans are backed with gold satin and hang free from the sides of the quilt.


The Kimono's are fabric Origami and this took several practice folds to get right
the Blue border fabric is an oriental brocade of my mother's and this fabric is what inspired me to make the quilt.
Again I give huge thanks to John Neilsen for his outstanding custom quilting for me.
I would love you to vote for me - not for me to win - just to show you like my work.